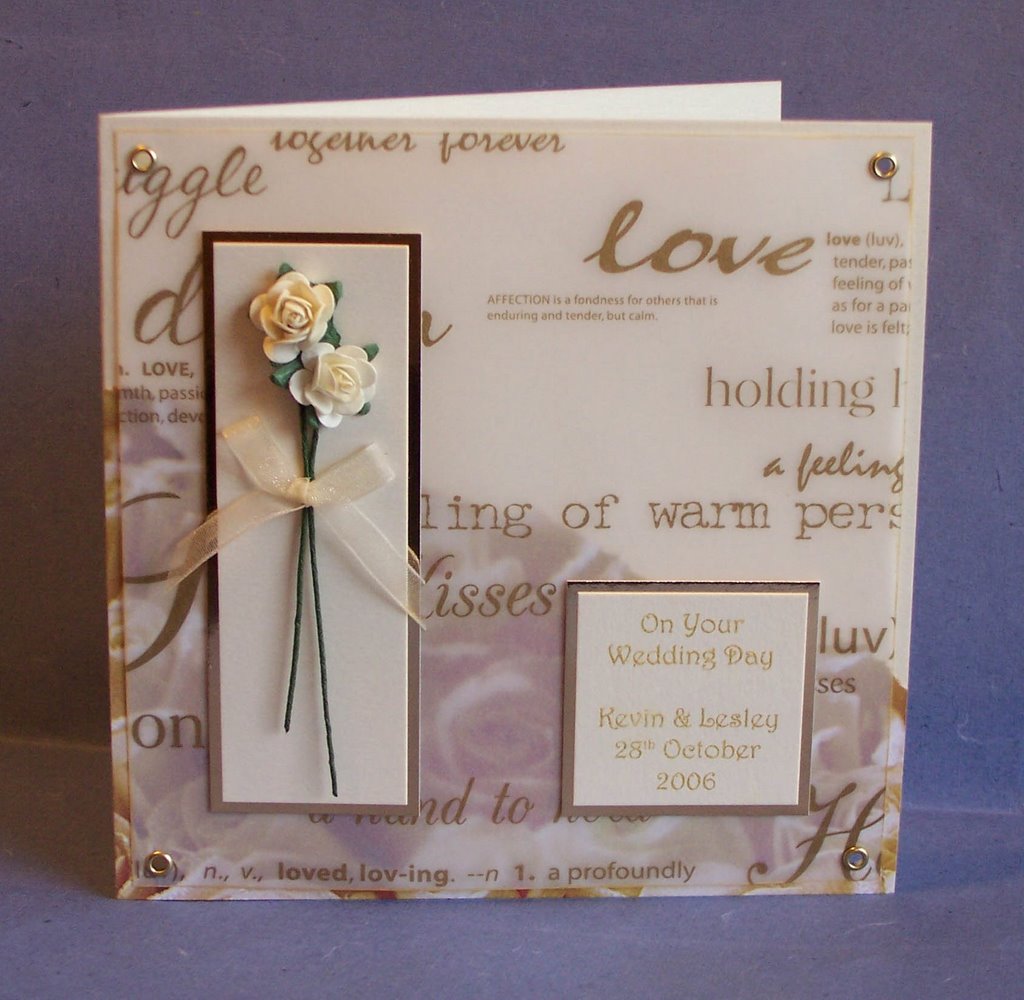
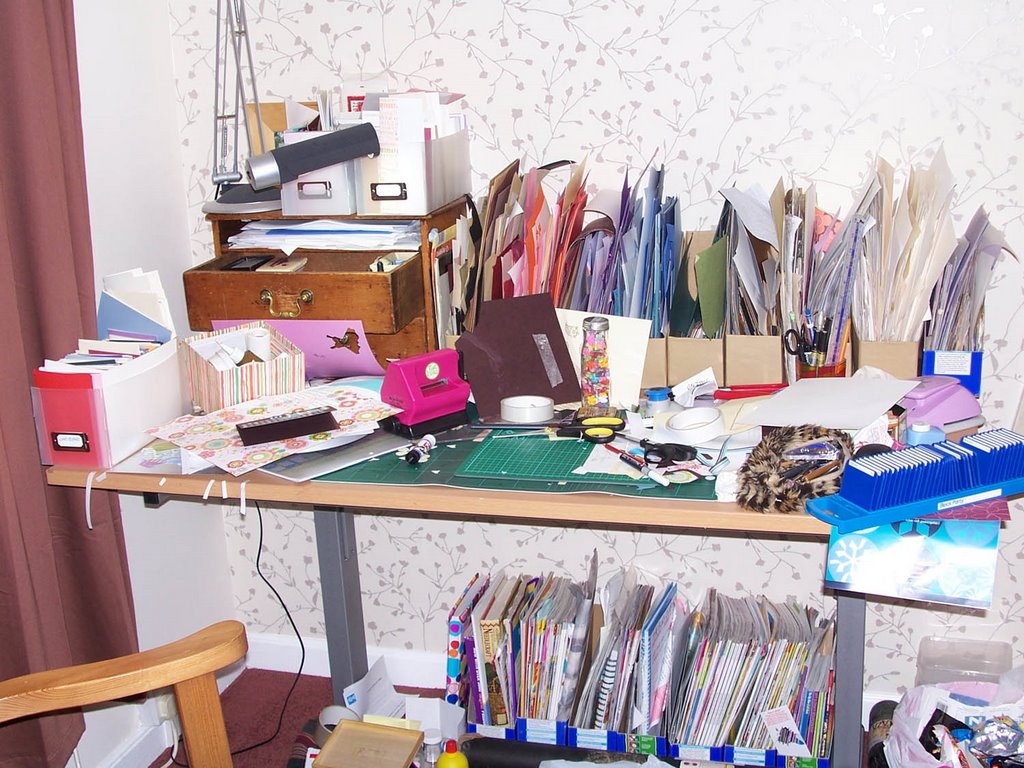
Well, I have to say at first I was stumped, but when you look past the dinner stuff and dishes there's actually a lot more than I even thought possible for cardmaking. My first attempt was with greaseproof paper, which potentially has a lot it it scrunching and distressing it, but mine just didn't work right. Then I made a right old mess having a go making shaving foam backgrounds with food colouring and ended up with coloured fingers and loads of backgrounds that I didn't use for my final card but had a lot of fun doing. I had a go at rag rolling with cling film too. So you see theres a lot more than just chores in there. Thank heavens!
This is my final card design. Papers are from Rob and Bob, gorgeous zingy colours, I love them!
 Ok, it doesn't actually look like its ever seen the kitchen but it has and to prove it I'll show you how I made the embellishments!
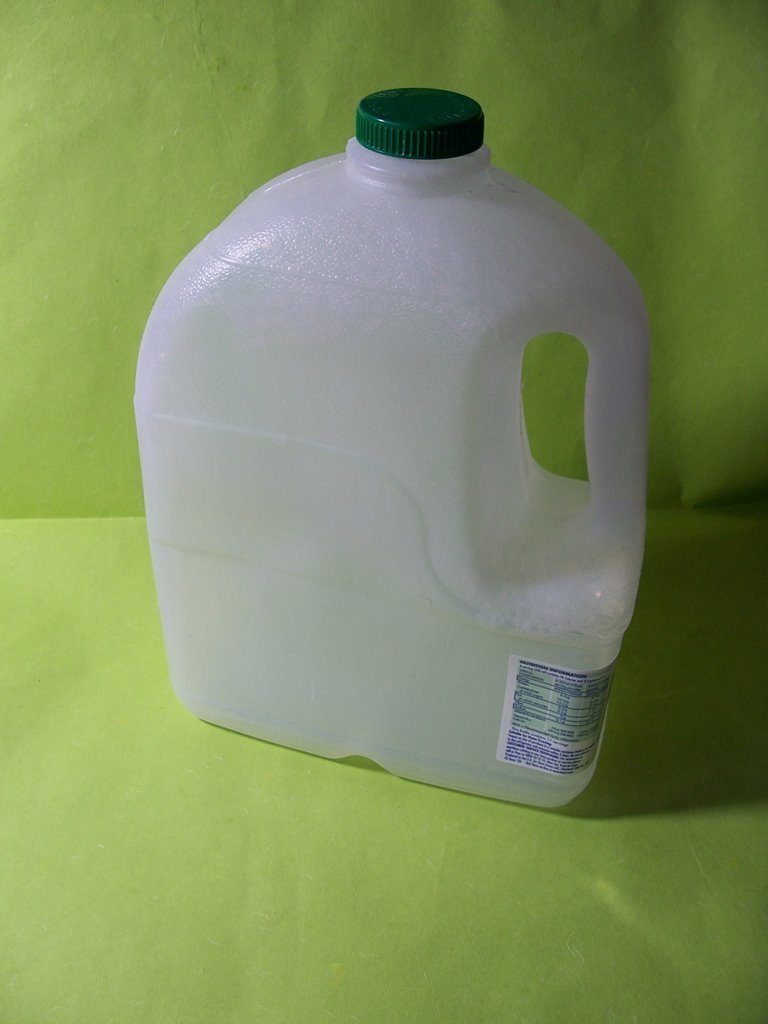
First take an empty plastic milk bottle, then cut the flat bits out of it using scissors. Be careful not to do yourself an injury. It might be worth getting a responsible adult to help you here unless you're supposed to be old enough to know better.

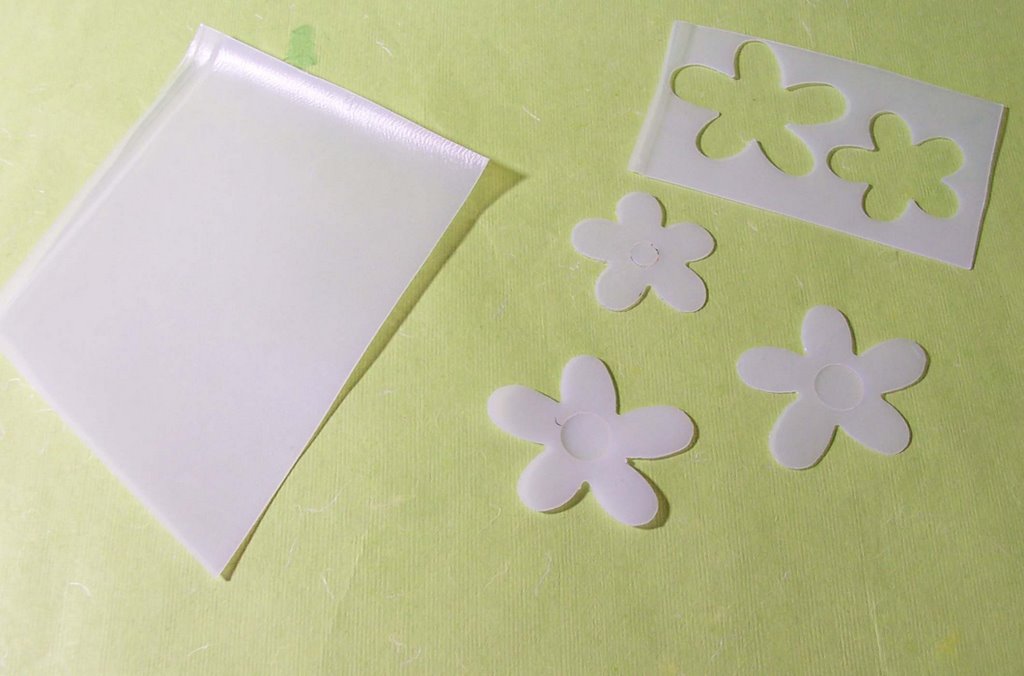
Then either die cut your shapes, I used a sizzix and the original thick dies (the thin ones wont work as far as I tried) or cut them by hand, I did flowers and circles.
Then I used alcohol inks to colour the plastic, I just love these inks, if you don't have them then you probably need them!
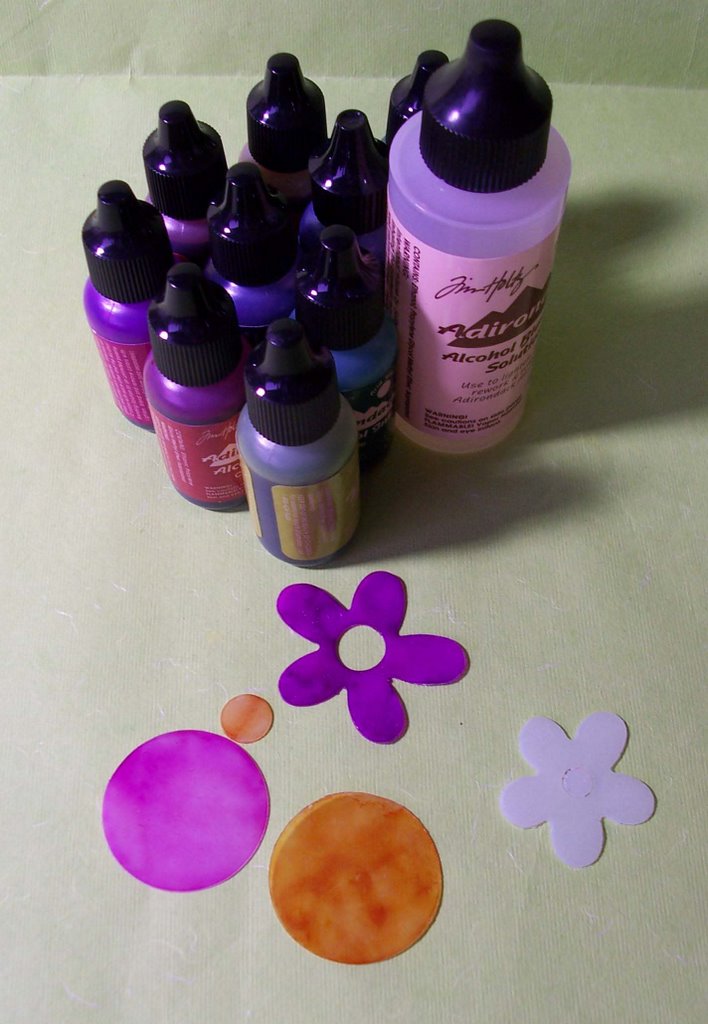
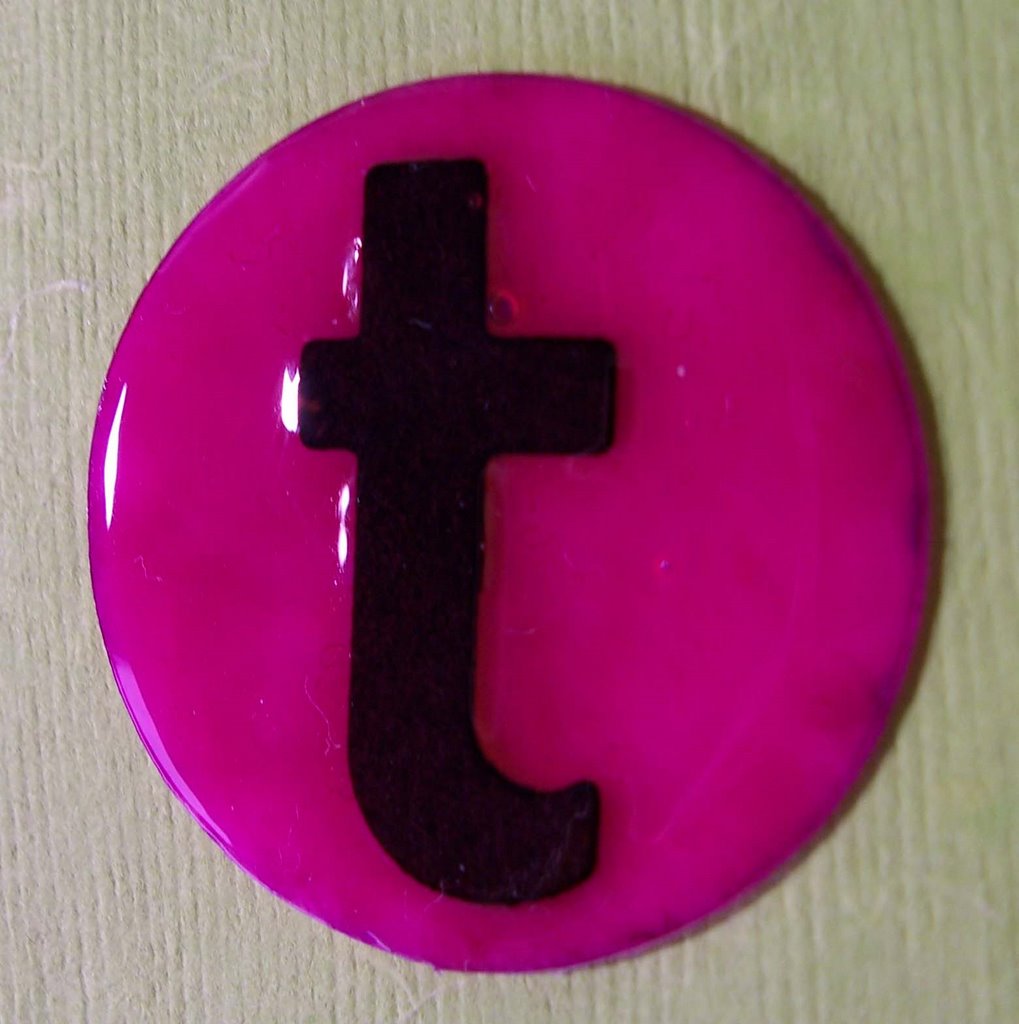
Then I die cut all the letters I wanted from Card, I used Curlie Girlie and Block Party, both Ellison thin cuts alphas. I glued the letters w and e to the circles with glossy accents and then covered the whole circle to give a 3d effect, I glossy accented the flowers too. The letters should look something like this!
 Finally, I used spray glue to attach the embellies to the card and there you go! I'd love to see what you make with this technique, Im sure theres loads more packaging items that can be used in a similar way. So forget the cooking, just use your kitchen for crafting ;)